Sanitairllc
7 Easy Steps to Clean Your Blower Motor Like a Pro
Introduction
Keeping your HVAC system in top shape requires regular maintenance, and one essential task is blower motor cleaning. The blower motor is responsible for circulating air throughout your home, and when it accumulates dust and debris, it can reduce efficiency, increase energy costs, and lead to poor air quality. Cleaning the blower motor may seem like a daunting task, but with the right steps, you can do it like a pro.
In this guide, we’ll walk you through the seven easy steps to clean your blower motor safely and effectively.
Step 1: Gather Your Tools and Materials
Before you start cleaning your blower motor, it’s essential to have the right tools and materials. Having everything on hand will make the process smoother and more efficient.
Tools and Materials You’ll Need:
Screwdriver (Phillips and flathead)
Soft-bristle brush
Vacuum cleaner with a hose attachment
Microfiber cloth
Compressed air canister
Mild detergent and warm water
Protective gloves and safety goggles
Once you have these items, you’re ready to begin the cleaning process.
Step 2: Turn Off the Power
Safety is the top priority when performing blower motor cleaning. Since the blower motor is an electrical component, you must turn off the power before starting.
How to Turn Off the Power:
Locate the power switch on your HVAC system and turn it off.
If your HVAC system does not have a visible switch, turn off the breaker connected to it.
Double-check by attempting to turn on the system to ensure that there is no power.
Once the power is off, you can safely proceed to the next step.
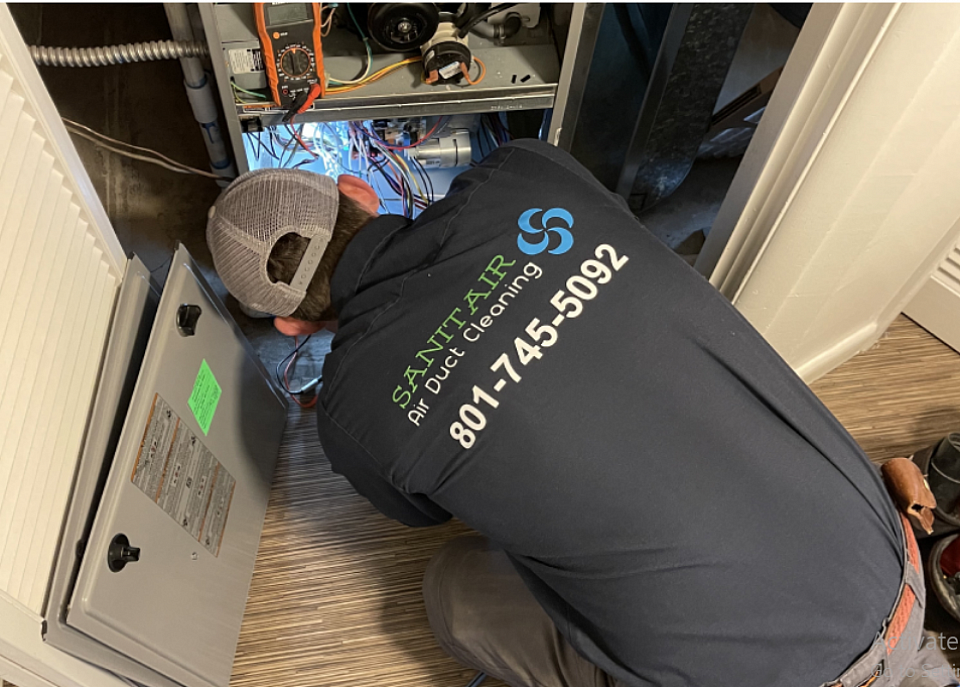
Step 3: Access the Blower Motor
The blower motor is housed inside your HVAC system’s air handler unit. To clean it, you need to access it properly.
Steps to Access the Blower Motor:
Locate the panel covering the blower motor (it is usually secured with screws).
Use the appropriate screwdriver to remove the screws and gently take off the panel.
If necessary, take a picture of the motor’s wiring before disconnecting anything to ensure proper reassembly later.
With the panel removed, you will have direct access to the blower motor and its components.
Step 4: Remove Loose Dust and Debris
Dust and debris accumulation is one of the biggest problems affecting your HVAC system’s efficiency. The first stage of cleaning involves removing the loose dirt.
Cleaning Steps:
Use a vacuum cleaner with a hose attachment to remove loose dust from the blower motor and surrounding areas.
Gently brush away stubborn debris using a soft-bristle brush.
Use compressed air to blow out dust from tight spaces.
Be thorough but gentle to avoid damaging delicate components.
Step 5: Deep Clean the Blower Motor Components
After removing loose debris, it’s time to deep clean the blower motor blades and housing.
Steps to Deep Clean:
Dampen a microfiber cloth with a mild detergent and warm water.
Wipe down the blower fan blades, ensuring all dirt is removed.
For tougher grime, dip the cloth in soapy water and gently scrub the affected areas.
Use a dry microfiber cloth to wipe away any remaining moisture.
This step ensures your blower motor is thoroughly cleaned, improving performance and air quality.
Step 6: Inspect and Lubricate the Blower Motor
Before reassembling your HVAC system, it’s a good idea to inspect the motor for wear and lubricate any moving parts.
Inspection and Lubrication Steps:
Check for signs of wear on the motor’s bearings and wires.
If your motor has oil ports, add a few drops of manufacturer-recommended lubricant.
Rotate the blower wheel manually to ensure smooth movement.
Proper lubrication extends the motor’s lifespan and improves efficiency.
Step 7: Reassemble and Restore Power
Once the cleaning and inspection are complete, it’s time to put everything back together.
Steps to Reassemble:
Carefully reattach the blower motor panel and secure it with screws.
Ensure all connections are properly in place.
Restore power by turning on the breaker or HVAC power switch.
Turn on the HVAC system and observe its operation.
Your blower motor cleaning process is now complete! You should notice improved airflow and system efficiency.
Conclusion
Regular blower motor cleaning is crucial for maintaining a healthy and efficient HVAC system. By following these seven easy steps, you can clean your blower motor like a pro and enjoy improved air circulation, lower energy bills, and a longer-lasting system.
Make sure to clean your blower motor at least once a year to prevent dust buildup and keep your HVAC system in top shape. If you notice unusual noises, excessive dust, or reduced airflow, it may be time for another cleaning session or professional maintenance.
